OpenDKIM Support
BlueOnyx 5211R comes with built in OpenDKIM support. This feature will soon be backported to BlueOnyx 5210R as well.
Usage Guide:
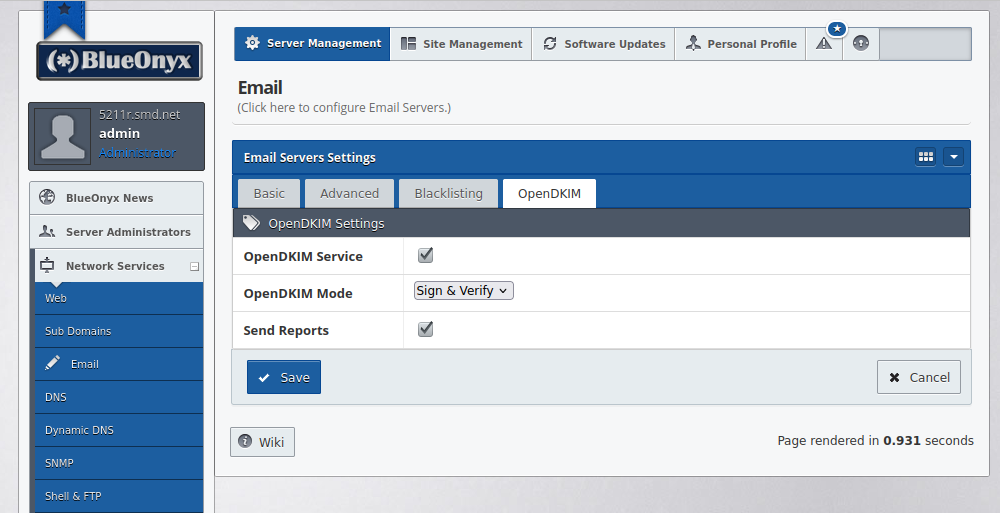
In "Server Management" / "Services" / "Email" navigate to the tab "OpenDKIM" to configure and enable OpenDKIM.
Enabling OpenDKIM on a Vsite:
In the GUI go to the Vsite in question and navigate to "Services" / "Email". If the Vsite does not already have DKIM enabled, you can tick the checkbox "EnableOpenDKIM" and it will automatically create the DKIM keys. If your BlueOnyx server has its DNS server enabled, then the GUI will also automatically create a DNS TXT Record with the required data.

The image below shows how it looks when a Vsite has OpenDKIM enabled and configured.
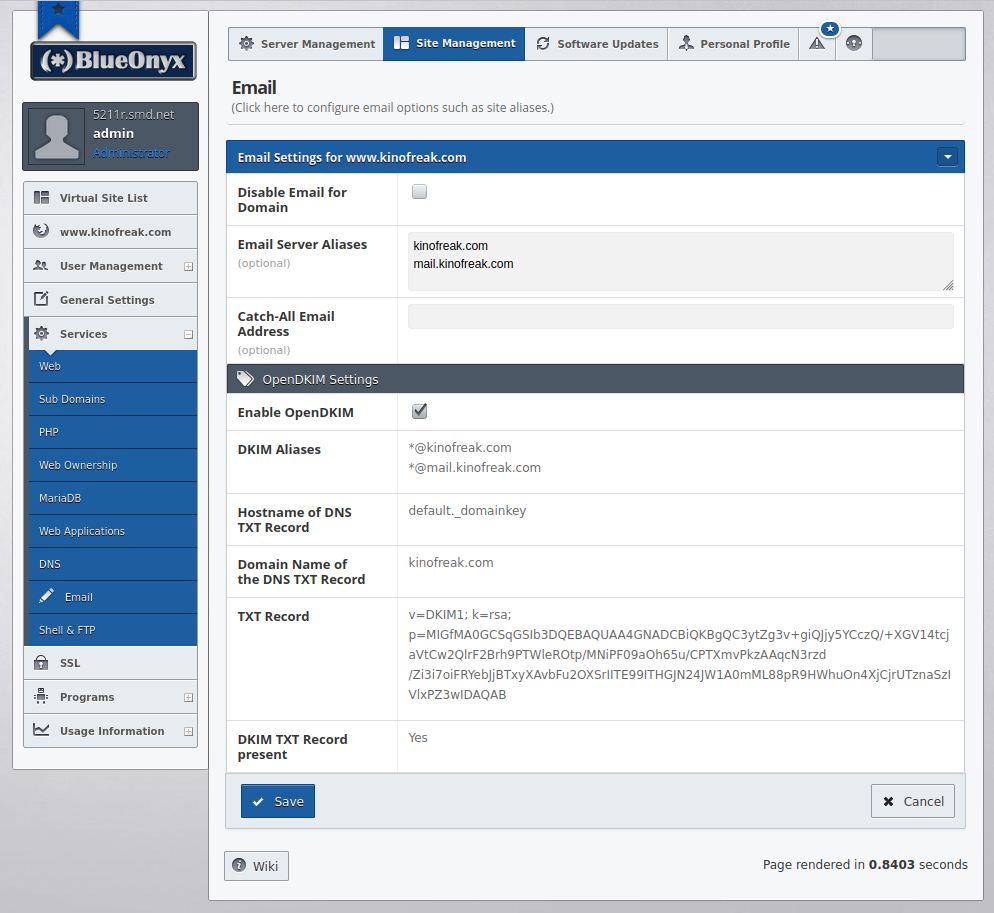
If you are not using the onboard DNS server of your BlueOnyx but host your DNS elsewhere? In that case this GUI page should present you with all the information that you need to copy and paste to the DNS records of your separate DNS server.
Please note: Unticking the checkbox "Enable OpenDKIM" on a Vsite and saving will remove the DKIM key and DNS record for the Vsite in question. But of course you can use the same GUI page again to recreate a new key and DNS record.
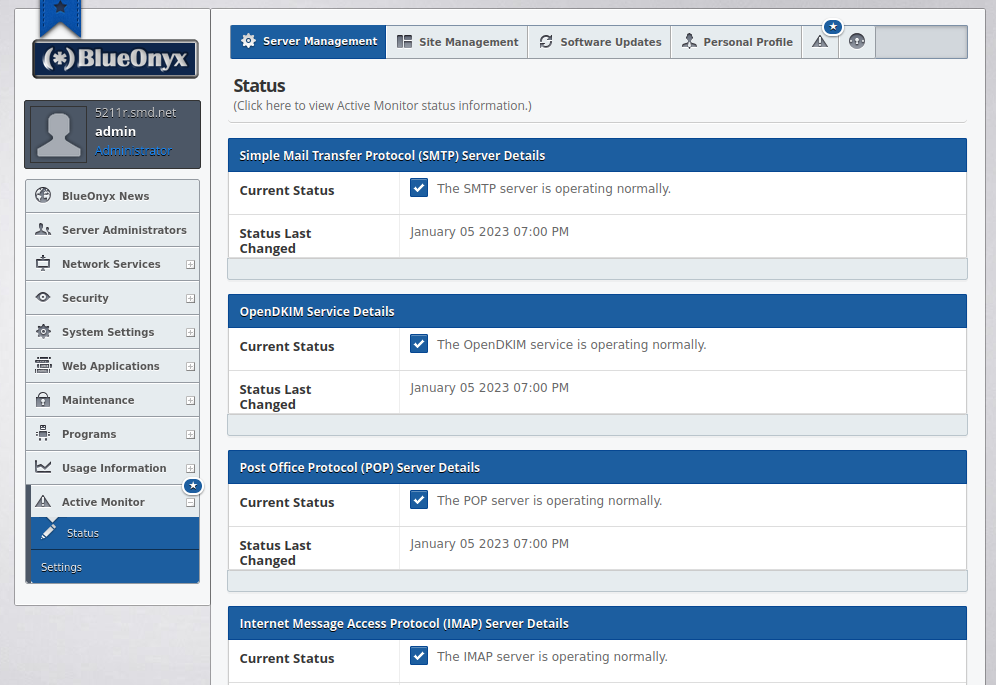
Active Monitor:
OpenDKIM is a daemon that runs in the background (if the service is enabled) and ties into the MTA (Postfix or Sendmail) via Milter. The GUI manages this automatically for you. An Active Monitor component will make sure that the service OpenDKIM remains running when it should be running.